
 |
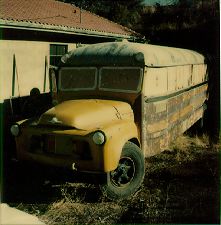
Start with a really BIG bus. Most school districts are not allowed to run busses once they become fifteen or twenty years old, although they are maintained very well right up to the end. They used to run them until they were 50 years old, but some stoned bus driver in Texas stalled on a RR track a few years back, and the PC thing to do was dump all the old busses. You should be able to find a good assortment at auctions and bus barns in your area.
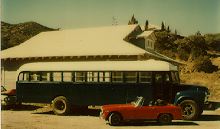
Start by making it some color other than "international school bus yellow". Choose a conservative color. Keep in mind that when you are done you may want to stay in a motor home park and many KOA's don't welcome 'hippie busses'.
When the exterior is presentable, I recommend two lengths of two by twelve bolted along the outside of the body. These serve several purposes: stiffening the walls and providing a side 'bumper'. A bus will go anywhere: even straight uphill in low gear... Protect your new paint job!
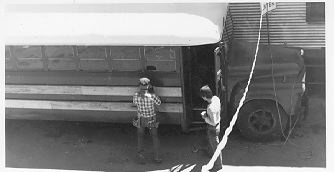
You can anchor the two by twelve's with extra long bolts which
go through the metal walls and then through two by two's which
act as the interior studs.
Be sure to use insulation just as you would in a house.
It serves as sound-proofing as well.
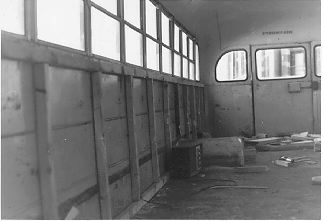
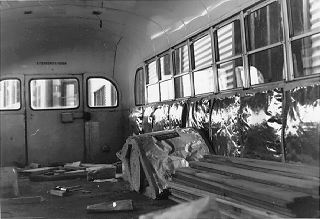
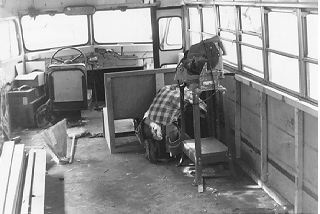
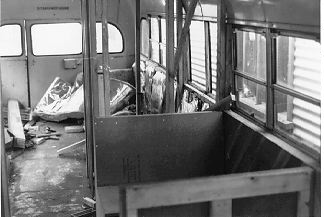
The interior is a strictly personal thing. After I pulled all the seats out I drew chalk lines on the floor where I thought the walls and furniture should be. I spent a fair amount of time walking around inside trying to imagine the problems I might have once it was finished. Once I decided on the final floor-plan, work progressed quickly. Two local contract carpenters did the woodwork while I did the plumbing and electrical.
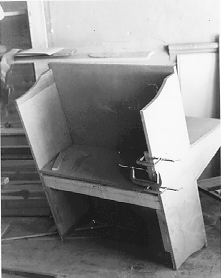
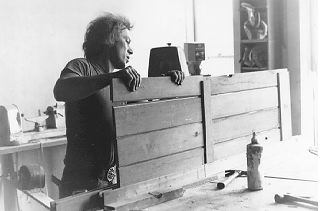
One of the carpenters set to work on the framing while the other
worked in the shop to build the bench seats and two pocket doors.

After the benches and cabinets were complete we carried them in through the back door of the bus and bolted them to the floor working from the front to the rear.
I decided I wanted to do the interior in Cedar, and the cheapest way to go was to buy several hundred six foot one by four fence posts and shoot them through a planer.
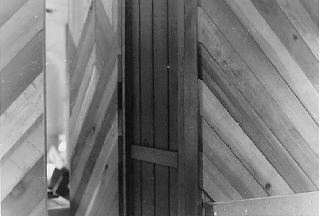
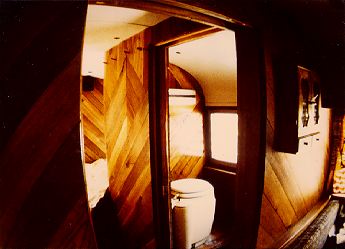
We chose to use forty-five degree angles as we covered the walls.
Kind of a pleasing effect, I think... Here you can see the space saving pocket door installed on the bathroom.
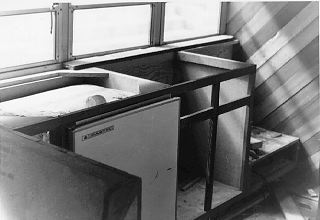
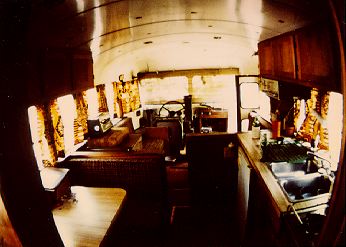
Here you can see the kitchen cabinets, under-counter fridge and space for the range.
 |
 |
 |
 |
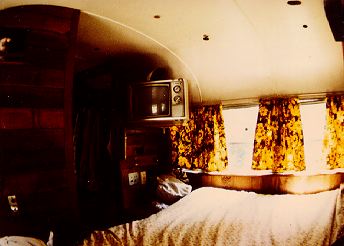 |
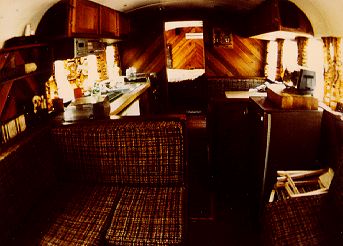
And the TV, of course...
Thanks for stopping by. I hope you enjoyed this page and found it useful.
PLEASE READ: I built this bus in 1975 for about $5,000. I lived in it until 1985 when I sold it.
If you are considering a project like this, I recommend that you begin at this web page WHICH I AM NOT ASSOCIATED WITH:
Return to Bob Sokol's home page.
Write to Bob Sokol